Tuesday, May 31, 2011

Busy Weekend!


Whew!  What a great long weekend!  I wish every weekend we had three days off.
I realize it's been awhile since I posted, but I'm caught up in that beginning of summer flurry of activity.  In the past four days I've:
  • played sand volleyball three times
  • stained (times 2) the two side tables I've been working on
  • polyurethaned (times 4) the side tables
  • had a lazy Sunday (didn't wake up in the late afternoon though...well, I guess I did from my nap)
  • helped Dylan install hardwood flooring (we're through the kitchen and the end is in sight!  Photos coming soon.)
  • celebrated our 1 year anniversary!
  • weeded the raised beds so I can finally put in all of the awesome plants that are dying for real soil
  • cleaned the inside and outside of our house
  • hosted a bbq, complete with almost any yard game you can think of, two cute baby chicks, cuter babies and kids, and friends
Needless to say, it was a productive but fun weekend!  Hopefully soon I'll get my booty in gear and get some pictures up.  I think I've been procrastinating on "now" pictures because our house is in the middle of a couple large-ish projects and everything is kind of a mess.  Guess that's how it goes with DIY home projects, though!

Saturday, May 21, 2011

Lamp Redo

Today I'm going to share a project I did last fall.  I almost always forget to take before or during pictures when I get into a project, but for once with this project, I remembered!

Last summer and fall were full of not only home improvement projects, but trying to decorate a large house on a dime.  I had been looking for matching bedside lamps for our guest room to replace the mis-matched and undersized lamps I had put there as placeholders.  I didn't really want to spend much money, though, especially on a room that is rarely seen.  One day as I was walking through Salvation Army, I came upon two of these babies, for just $1.99 each.  Sold!
Even though they were outdated and not my style in their current form, I already had an idea brewing.  One, spray paint the base of the lamp.  For sure.  Two, was there any way of turning the long, ugly shade into more of a modern drum shade? I know I could have bought a new drum shade at Target, but at $20 a pop, I wasn't ready to spend that kind of money on our guest room...and that didn't even include lamps.  A month or so before this project I had picked up some fabric at Joann's (I have no idea on the name or cost), which would work great for this project and tie in the colors I'd decided to use in this room.

Unfortunately, this is the part where I forgot to take pictures of the process of transforming the shades, but basically it went something like this:
  1. Measure 11 inches from the top of the shade and use a utility knife to score through the shade all the way around.
  2. Tear the metal band off of the former bottom edge of the shade (now cut off) and hot glue it to the new bottom edge of the shade.
  3. Cut fabric to size for the shade.  Since the shade wasn't perfectly cylindrical, I used some craft paper to first make a pattern, which I then copied onto the fabric.  I knew the width of the fabric would be really close to the amount I'd need to go all of the way around the lamp, but because of the pattern, I was able to save a lot of fabric from the trash can that I know would have ended up there had I guessed.
  4. I hot glued one edge of the fabric to the lamp to make sure it didn't move, then used Elmer's spray adhesive to secure the fabric all of the way around the shade.  To close off with a nice seam, I turned under the fabric before gluing.
At this point, I had this shorter drum shade.
To finish off the edges, I bought some wide bias tape and hot glued it around the top and bottom of the shade.  After spray painting the base with Rustoleum paint I had on hand, I was left with two newer looking lamps.
Sure, it involved more time than buying shades at Target would have required, but I like the colors and pattern of the fabric on the shades, not to mention that every time I look at these lamps, I get that happy I-did-that-myself feeling.  Total cost? $4 for both lamps and shades, $6 for fabric, $0 for spray paint (we had it), $2 for bias tape.  That makes it $6 for each lamp!  Not bad, not bad.

Monday, May 16, 2011

Fine Line House Tour: Part 1

Before pictures are always a good place to start, right?  In the first post, I showed you a picture of the outside of our house.  While it looked great from the outside, the inside was another story.  It's  therapeutic for me to look back through these pictures.  Sometimes it's easy to get caught up in how many things there are left to do and forget how far you've come. 

Back to the tour.  Here's the outside of the house when Dylan bought it back in the summer of 2009.  Despite the overgrown bushes and the evergreen trees that were planted too close to the house, it looked nice.
Now for the inside.  Entering the house from the side door (on the right in the picture above), you enter the breakfast nook.  Back then, the breakfast nook was a definite contender for the most disgusting room in the house.  Old, stained carpet, tons of shutters on the windows, outdated and faded wallpaper, drop ceiling, office-building fluorescent lighting...there was so much going wrong in there.  In the picture below you can see the side door on the left.
Walking straight in the side door and crossing the breakfast nook would get you into the dining room.  I couldn't find any true before pictures, but this one is pretty close to a before picture, aside from the wallpaper that we had already torn off.  This picture was taken from the doorway that leads to the kitchen.
This kitchen has been the bane of our existence, but we'll get into that more later.  For now, let me just point out the carpet.  Who puts carpet in a kitchen?  I'm certainly not a clean enough cook to be able to keep a kitchen carpet nice!
Walking down the hallway from the kitchen we pass the 1/2 bath, which is small, only barely enough room for a toilet and sink.
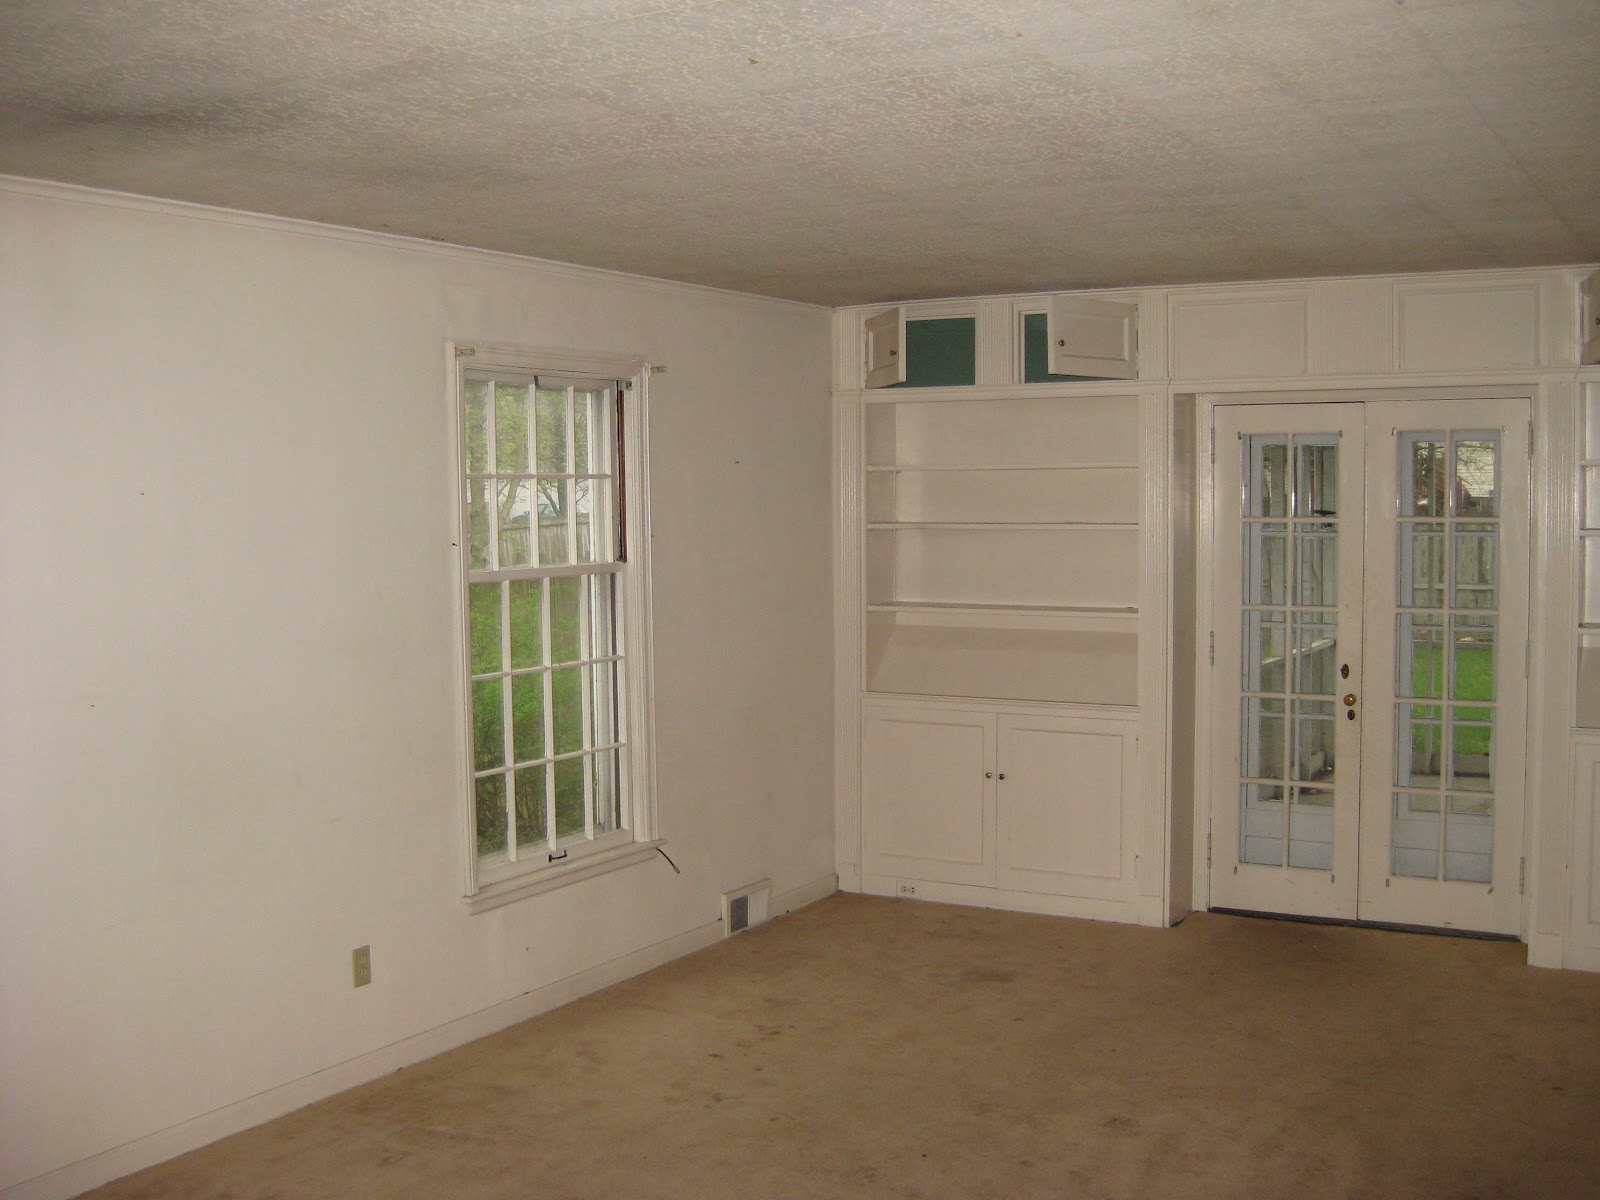
Continuing down the hallway we arrive at the study, which faces the backyard.  The study is a tiny room, only about 10x10 feet.  It could have been the green-stained wood paneling or the water-damaged ceiling, but this room felt very oppressive.
Next we come to the front entryway.  This picture was taken from the front door.  To the right there is a door that leads to the dining room, and the door on the left leads to the hallway that passes by the study and 1/2 bath and eventually arrives in the kitchen.
If we turned left from the entryway we would enter the living room. Aside from old stained carpet, this room was the nicest room on the first floor, in part because it had been painted instead of wallpapered, so it was a quick day project to get it where we wanted to make it liveable.
And that brings us to the end of House Tour: Part 1!  Next up is a tour of the upstairs rooms, then we'll check out the backyard, shed, and garage.

Looking at these pictures, I can't help but wonder why we went for it with this house in the first place!  It had great bones to begin with, but I don't think either of us realized just how much work it would take to bring it back to its glory days!

Tuesday, May 10, 2011

Welcome!

Hi!  I feel a little weird...how do you start a blog?  First off, my name is Ashley.  Last May I married Dylan, who is handyman extraordinaire.  
Seriously, Dylan is amazing.  He gets stuck doing all of the dirty (but necessary) jobs in the house, while I get to do the fun stuff.  The year before we got married he bought a seen-better-days foreclosure in the middle of nowhere, Missouri.  Here's an exterior shot, which doesn't look too bad (aside from the overgrown bushes) but the inside was a whole other story.
Even though I didn't live in the house at that point, I still spent a LOT of time working on the house, scraping layer upon layer of wallpaper off of most of the walls, just to prime and paint over and over and over again!  By the time he proposed, he was sure we'd make it for the long haul...I mean, if I stuck with him in spite of spending 4 hours scraping layers of western-style wallpaper out of a stuffy and humid 4x6 bathroom until my fingers went numb, we could take anything, right?

This house has been an amazing opportunity for me, as I've always liked crafting things.  When I first discovered wedding blogs as we planned our wedding, and later home DIY blogs, I realized what I'd been missing out on for so long!  I've found tons of places where I am inspired daily to take on new and exciting challenges and stretch myself as a creative and thrifty person.

So here I am.  My first blog post.  I'm not sure how long this will last or how many people will willingly open themselves up to all of this chatter, but I'm excited to get this out of the way and get on to the good stuff!  I've been "saving" up blog post ideas for over a year, and am glad to have this outlet.  I've learned so much from the blogs I follow, especially from the comments people leave, and I can't wait for this to become a place that documents all of the learning experiences Dylan and I have in this house!